Quick start
This walks from an empty instance to a working board. It takes a few minutes.
1. Sign in
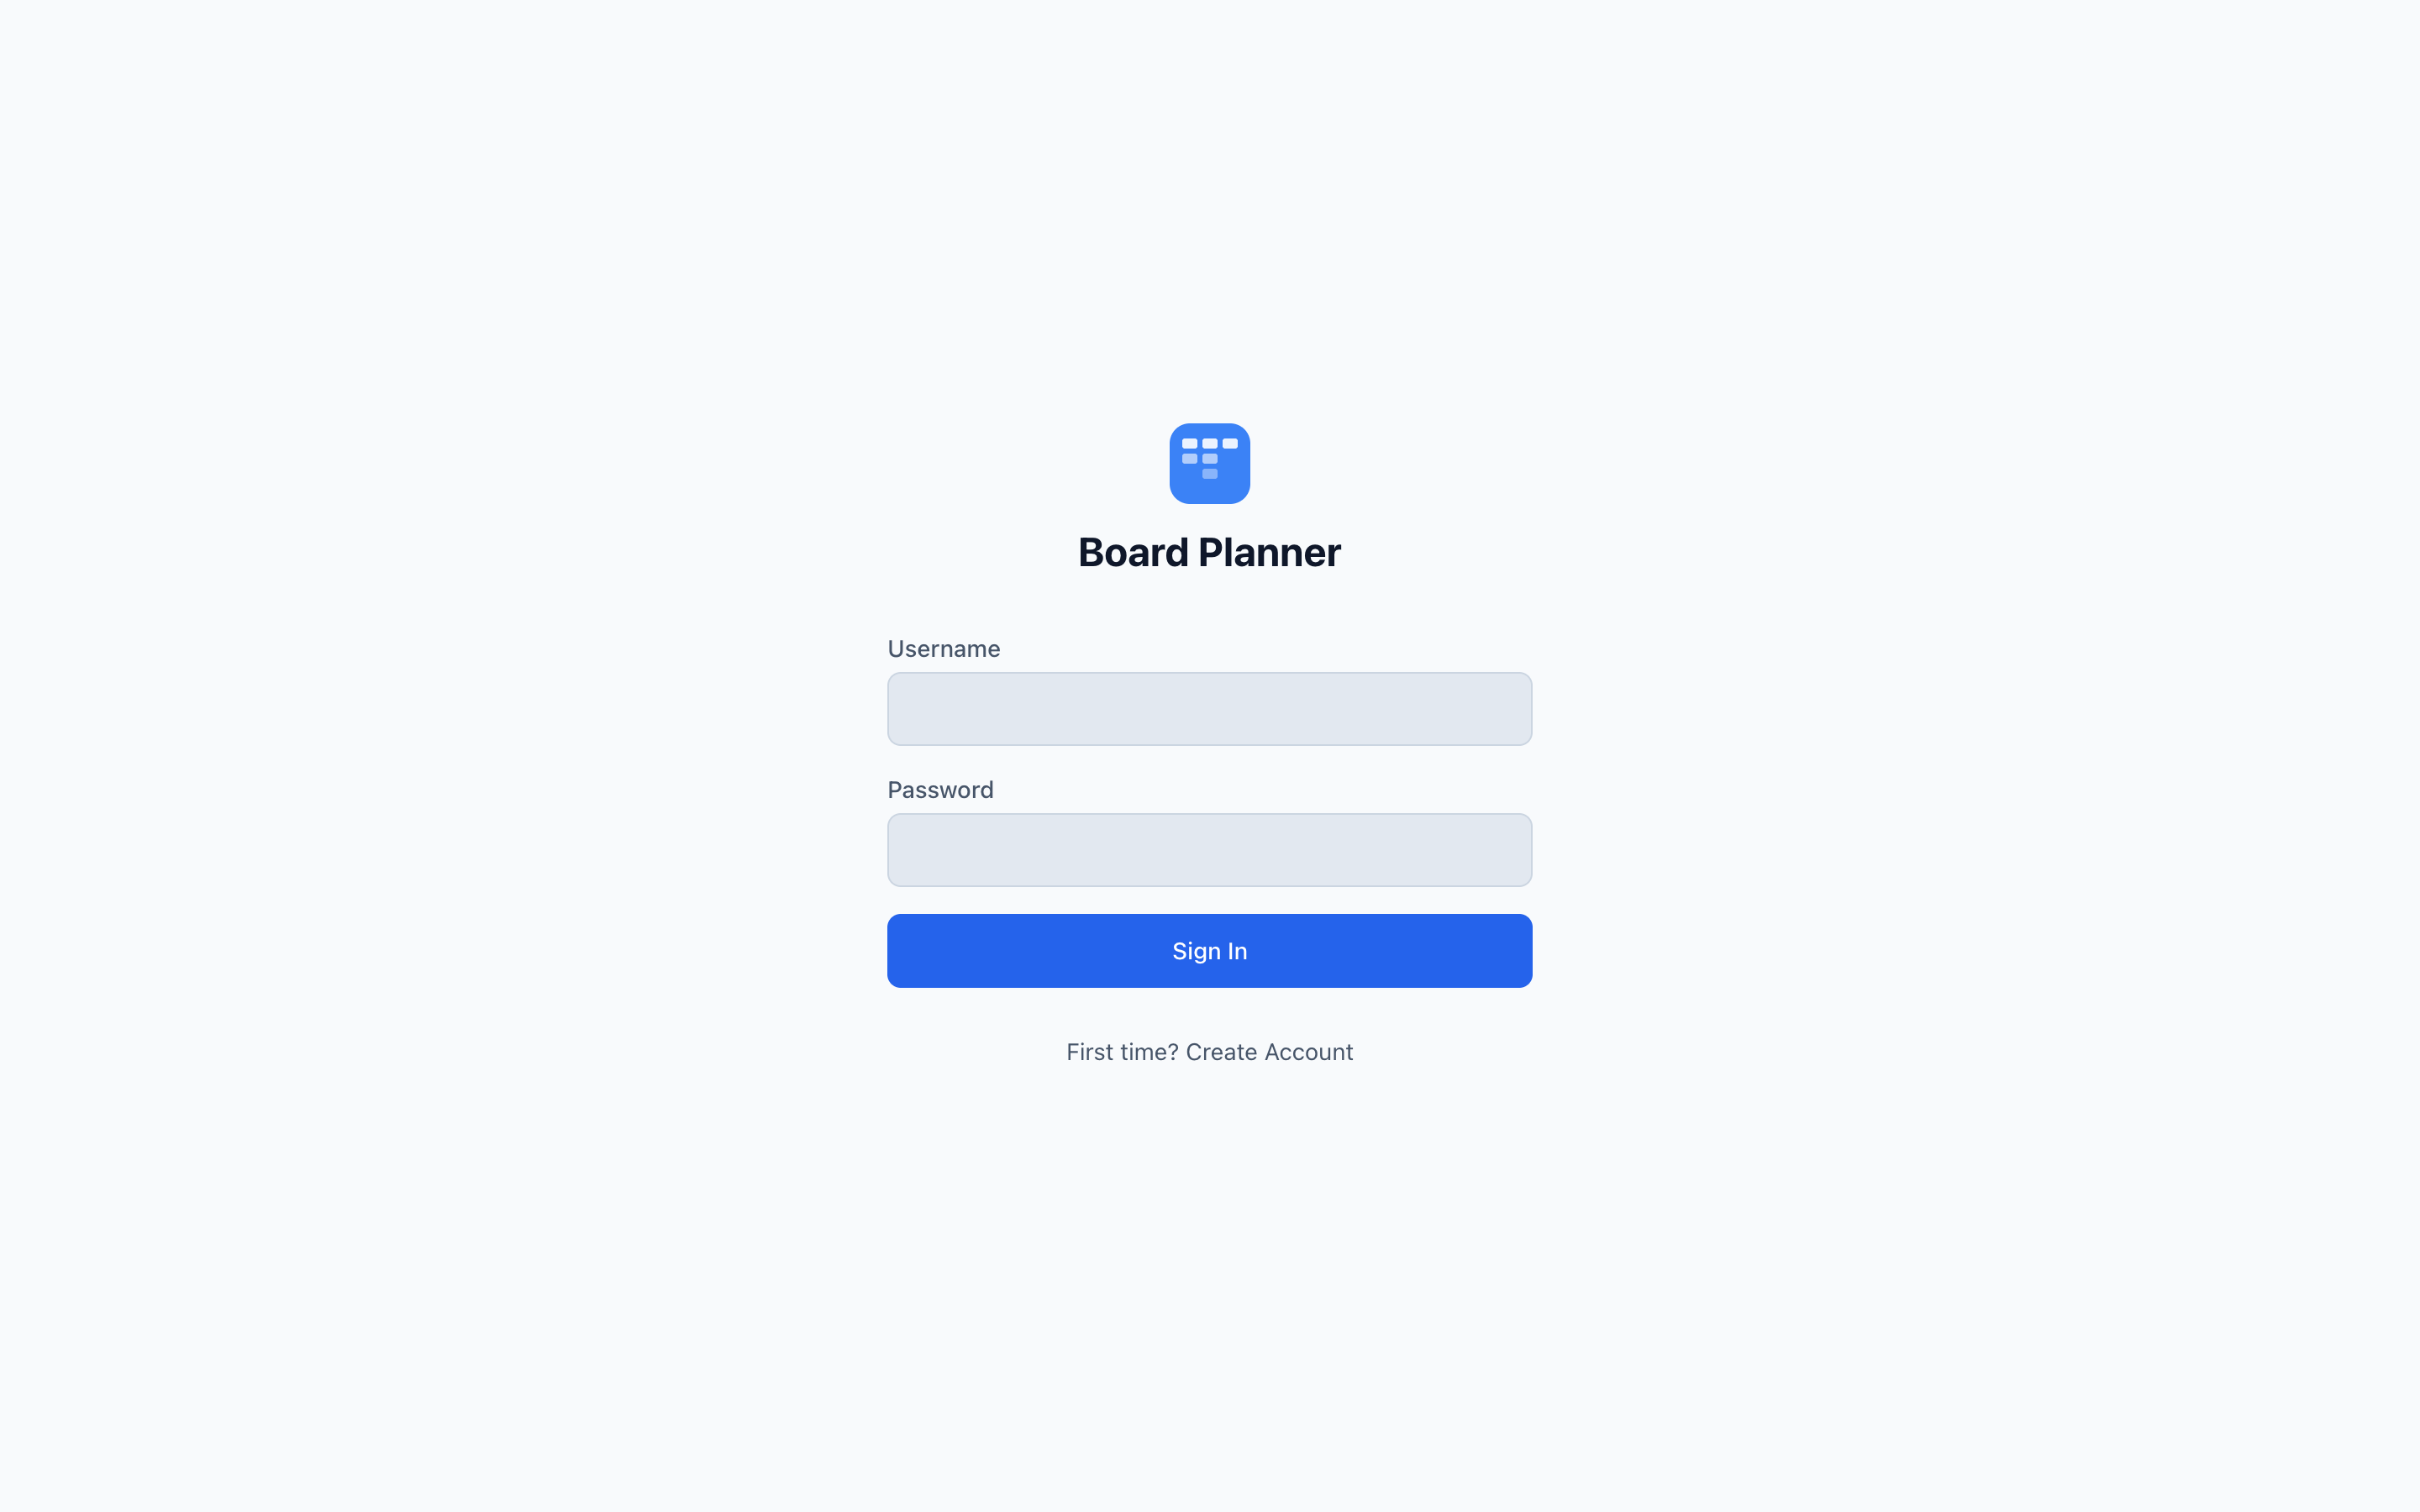
Section titled “1. Sign in”Open the app and sign in with the username and password an administrator gave you.
On a brand-new instance there is no administrator yet, and no invitation to wait for: the sign-in page offers First time? Create Account, and the first account made this way becomes the instance administrator. Everything after that is created from Settings → Users, so the offer appears only while the instance has no users at all — once it has one, it is gone.
Creating that first account asks for a setup code, so nobody who reaches a fresh instance before you can claim it. The instance prints the code to its server log when it starts with no accounts, or uses the BOOTSTRAP_TOKEN you set — see The first account.
2. Create a project
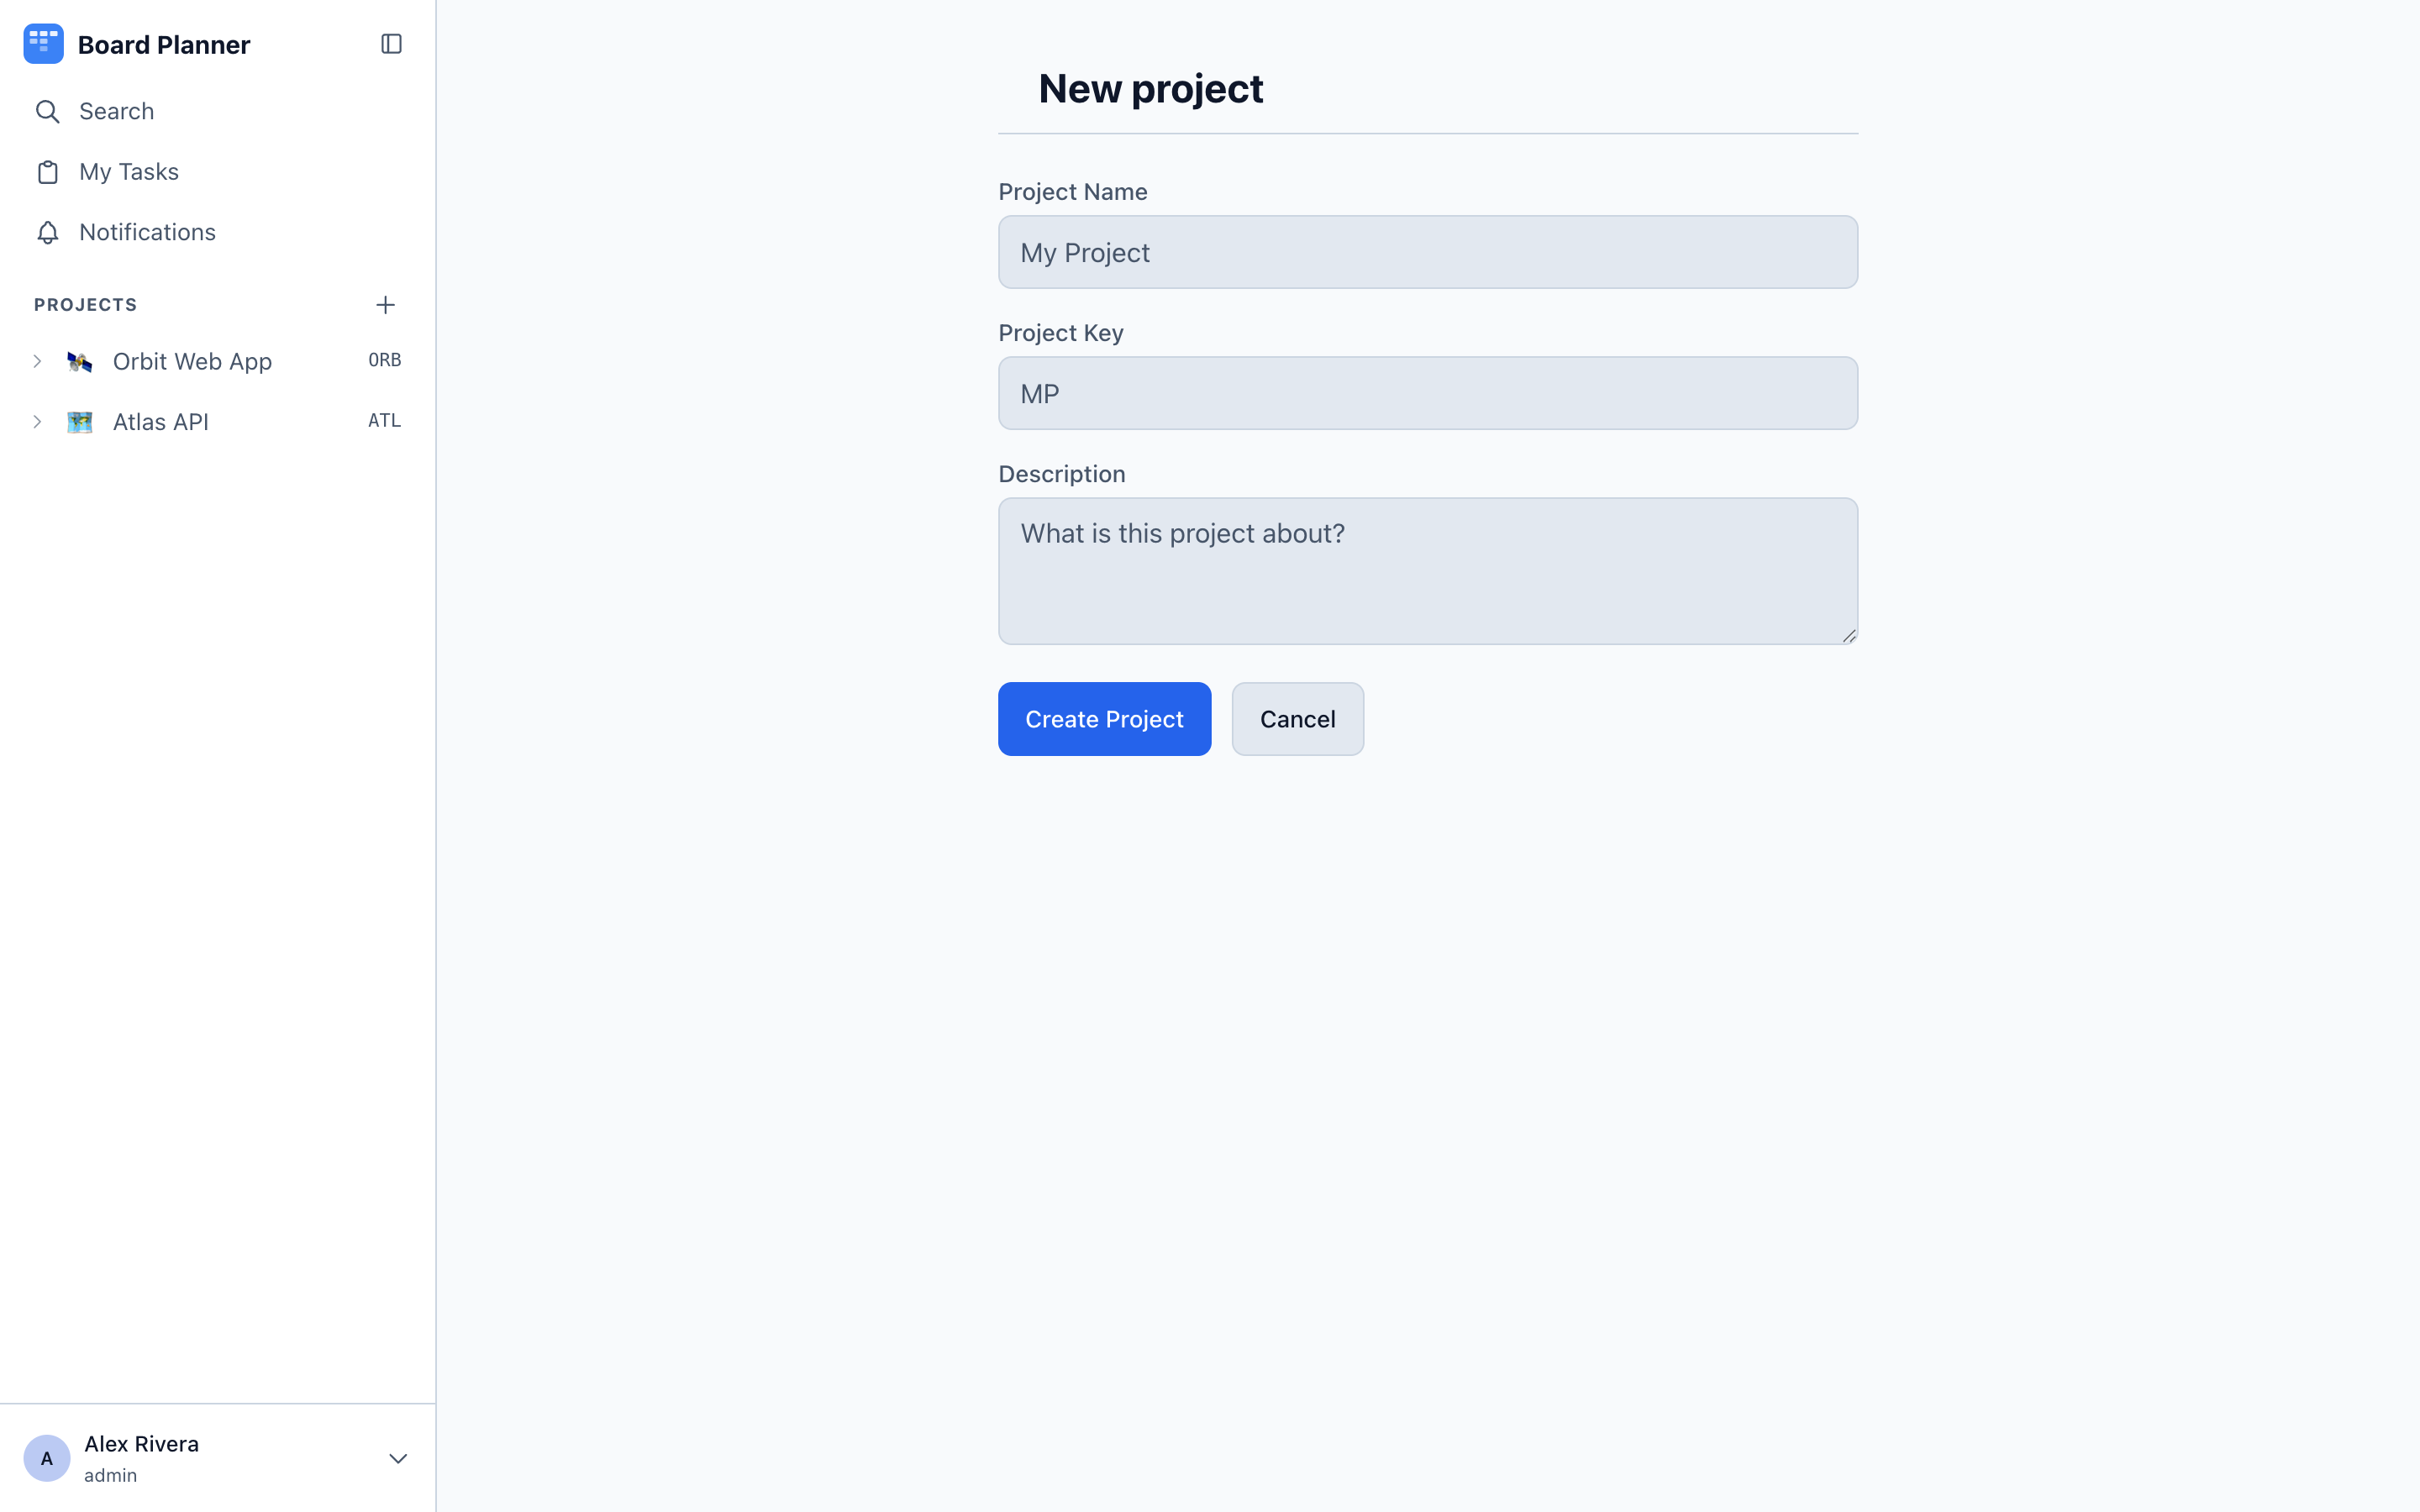
Section titled “2. Create a project”From Projects, choose New Project and fill in three fields:
- Project Name — what the team calls it, for example Orbit Web App.
- Project Key — a short uppercase code, for example
ORB. The form suggests one from the name as you type it (Orbit →ORB, Orbit Web App →OWA); it never suggests a key another board already has (Orbital next to an existingORBgetsORB2), and once you type your own it stops following the name. A key that is already taken is refused on the form. Every task gets a key built from it:ORB-1,ORB-2. The key is permanent — the form says so under the field — and appears in branch names, pull requests and MCP calls, so keep it short. - Description — one line about the project’s scope.
A new project starts with seven default columns and four categories. Both are yours to change later in Settings.
3. Add your first tasks
Section titled “3. Add your first tasks”Open the project’s board and use New task, or press N there — it is the board’s shortcut and does nothing on other pages. A task needs only a title; everything else can be filled in later.
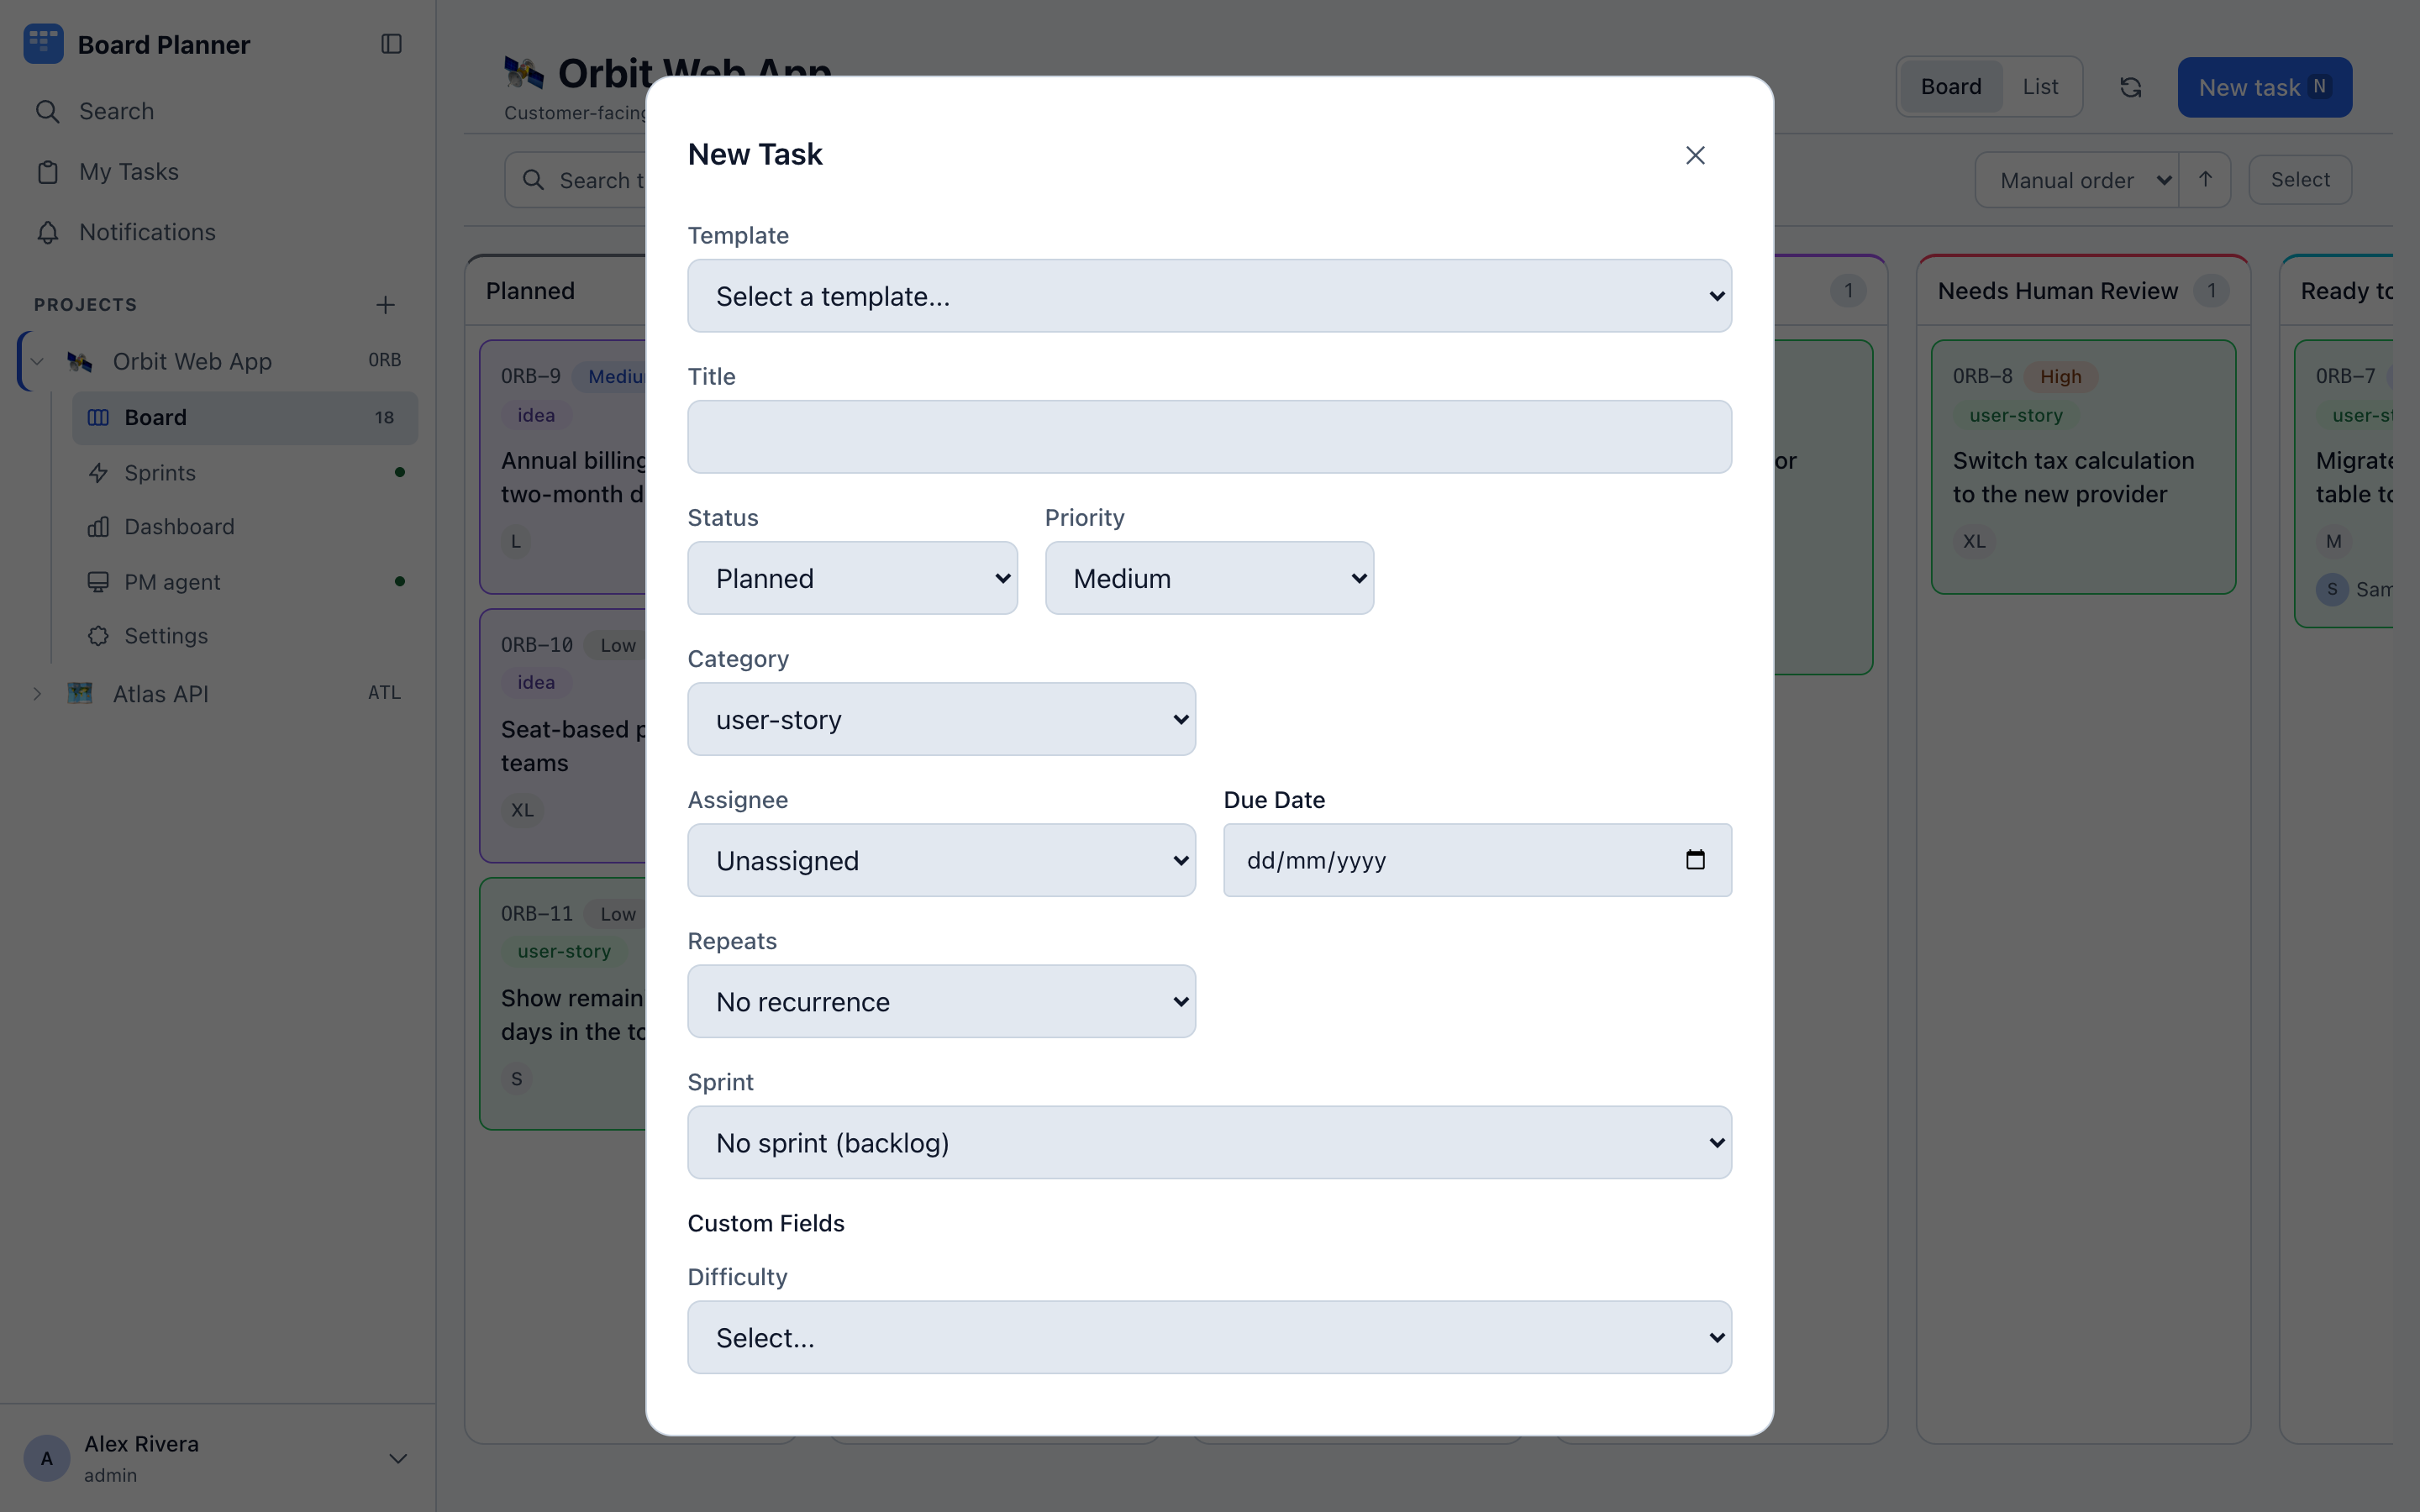
If the instance has an AI key, the form opens with AI Assist near the top: describe the work in a sentence and it fills in the fields for you to check. See AI Assist.
Useful things to set while you are there:
- Priority — Low, Medium, High or Urgent. Medium is the default.
- Category —
bug,doc,user-storyorideaout of the box. - Acceptance criteria — each line becomes a checklist item, and the card shows the progress bar.
4. Work the board
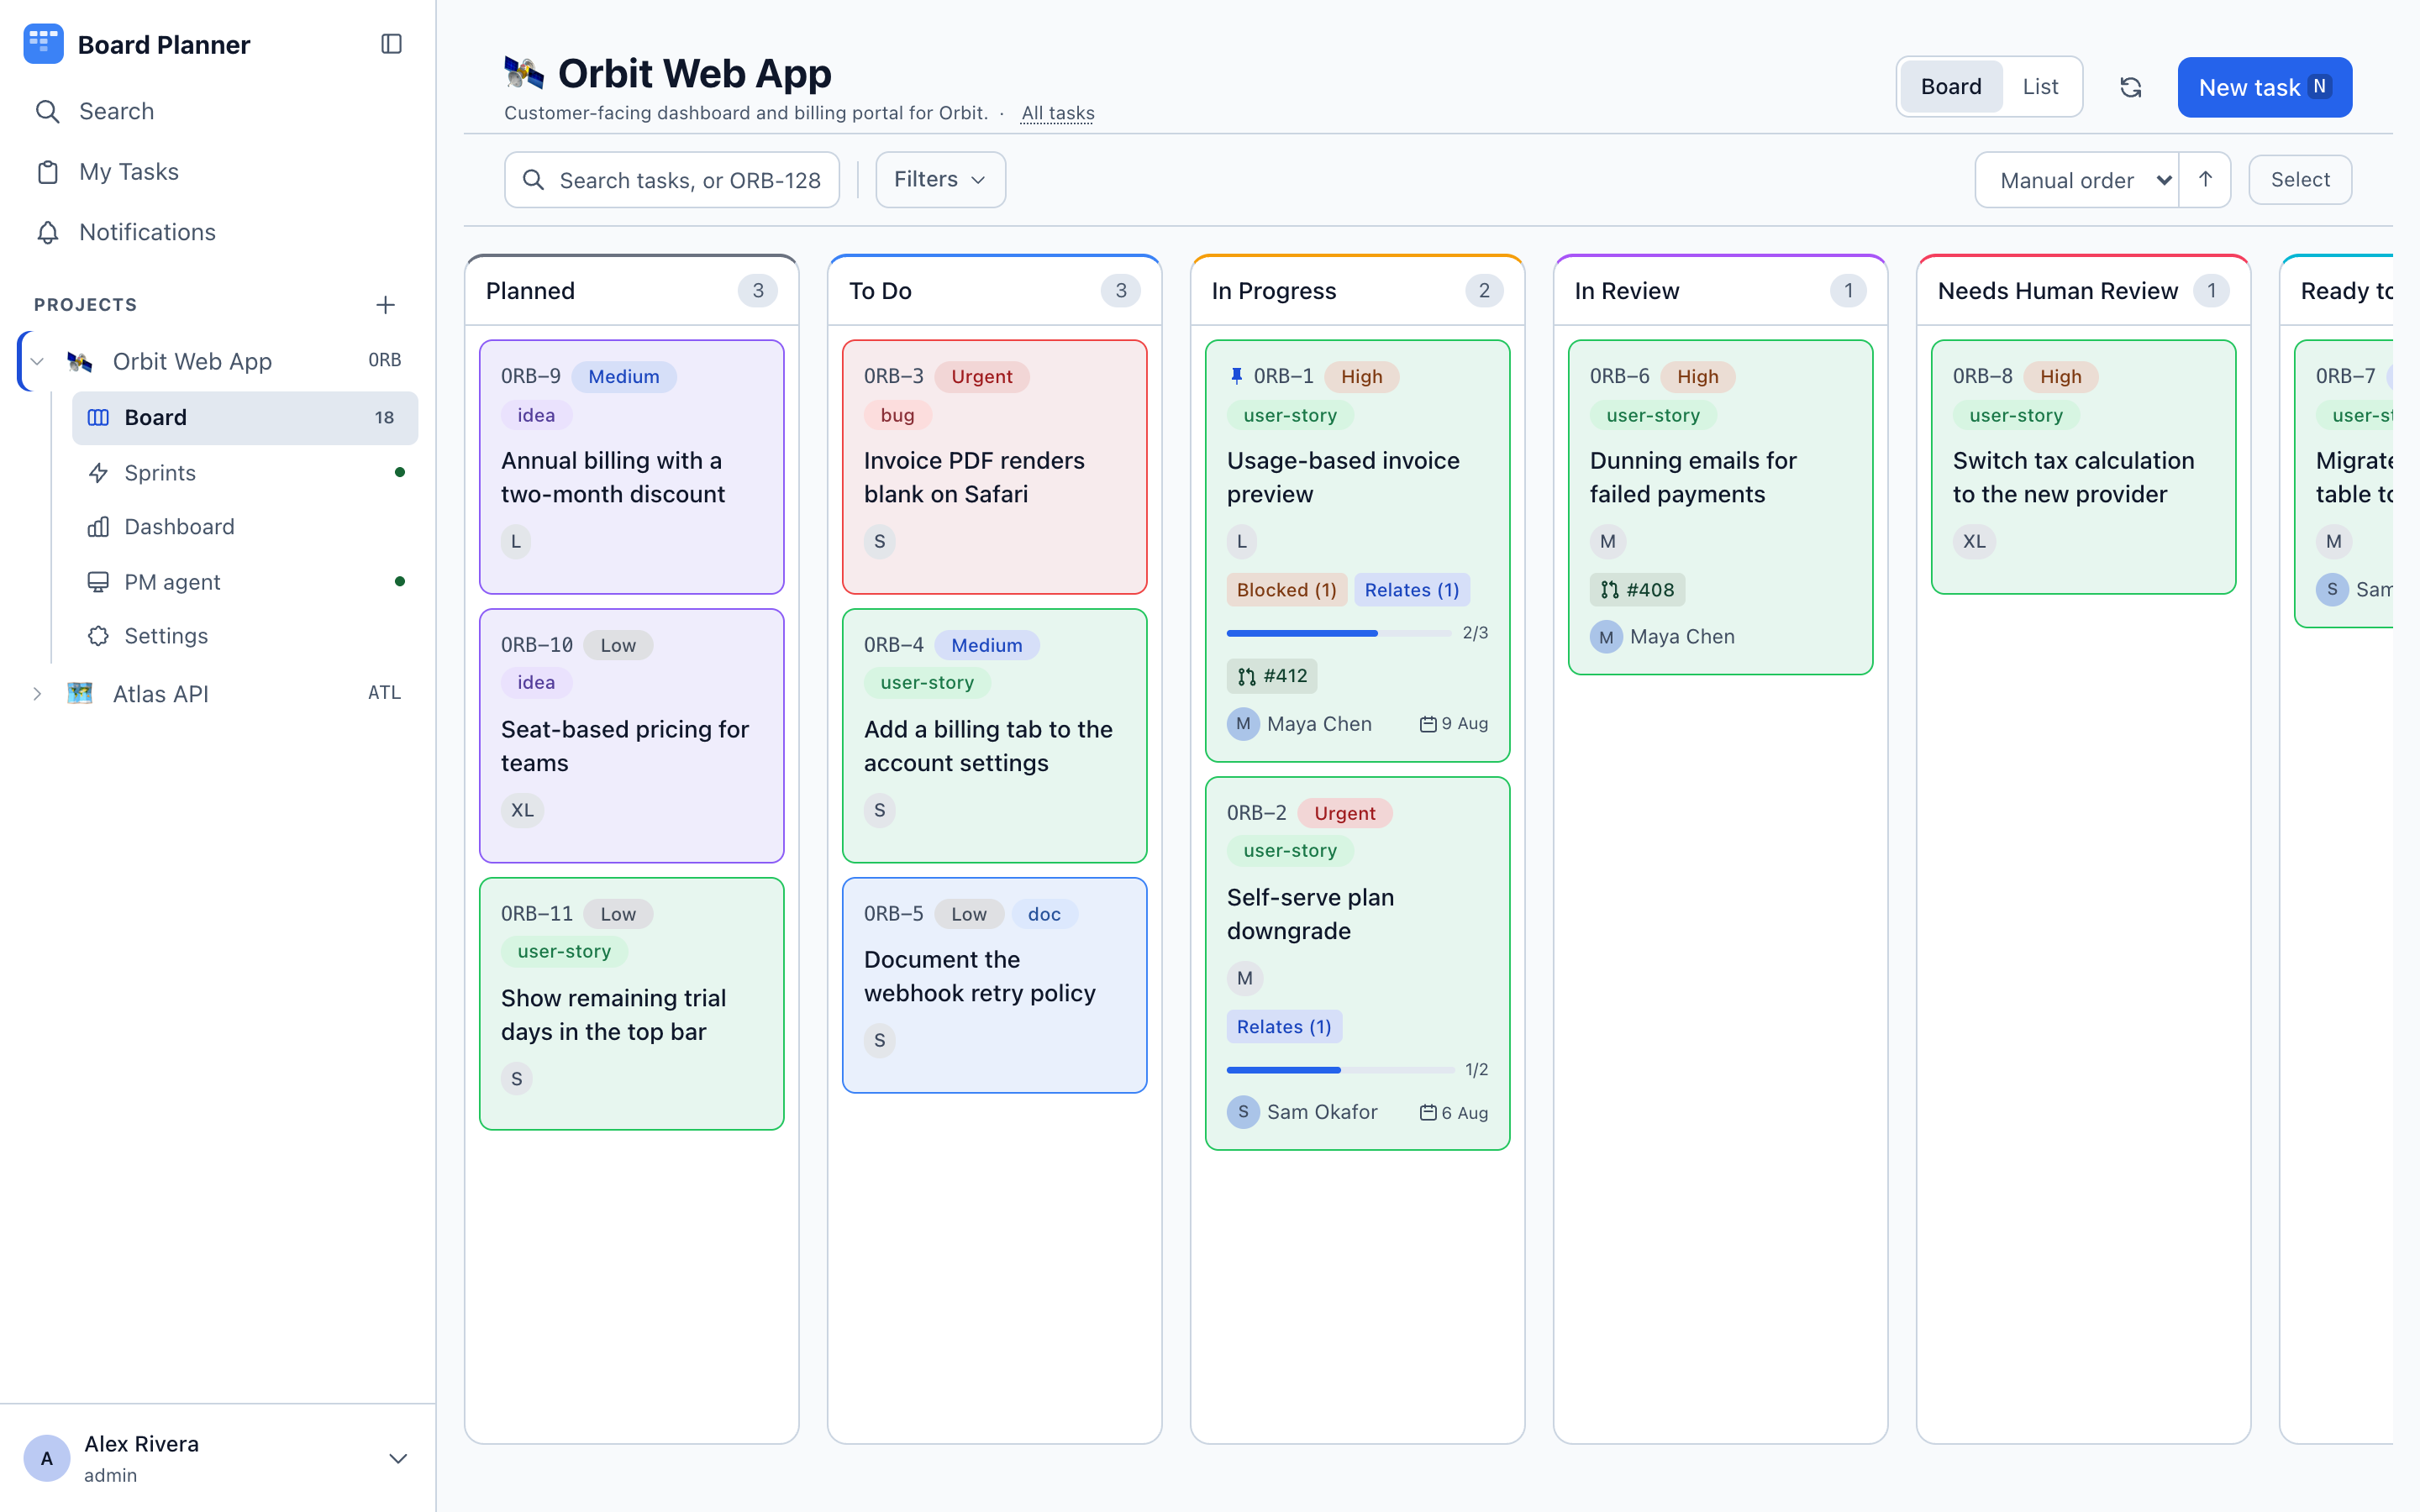
Section titled “4. Work the board”Drag a card to move it between columns, or change status inline from the list view. Click a card to open the task, where description, criteria, comments, dependencies and history all live.
5. Invite the rest of the team
Section titled “5. Invite the rest of the team”An administrator adds people under Settings → Users. A new account sees no board until it is added to one, and the message that confirms the account says so and offers Add to a board: pick the board and the role, and that is done. Access can also be given later from a board’s Settings → General. Either way, the person gets a notification that they were added. See Members and permissions.
Somebody who signs in before anyone has added them sees You are not on any board yet.
6. Connect an agent (optional)
Section titled “6. Connect an agent (optional)”To let Claude Code work the board, create an API token under Settings → API Tokens and point an MCP client at the instance. See Claude Code and MCP for the exact configuration.
Next: hand a task to your own machine
Section titled “Next: hand a task to your own machine”To have an agent take a task off the board and bring back a pull request with nobody at the keyboard, you need a repository, a machine of your own running the worker, and a task handed over to it. First agent run walks through it, with who does each step.